Homemade Peanut Butter Cups with Dark Cocoa
Highlighted under: Weeknight Quick Meals Collection
Homemade Peanut Butter Cups with Dark Cocoa
Homemade Peanut Butter Cups with Dark Cocoa
Homemade Peanut Butter Cups with Dark Cocoa
Mastering the Peanut Butter Filling
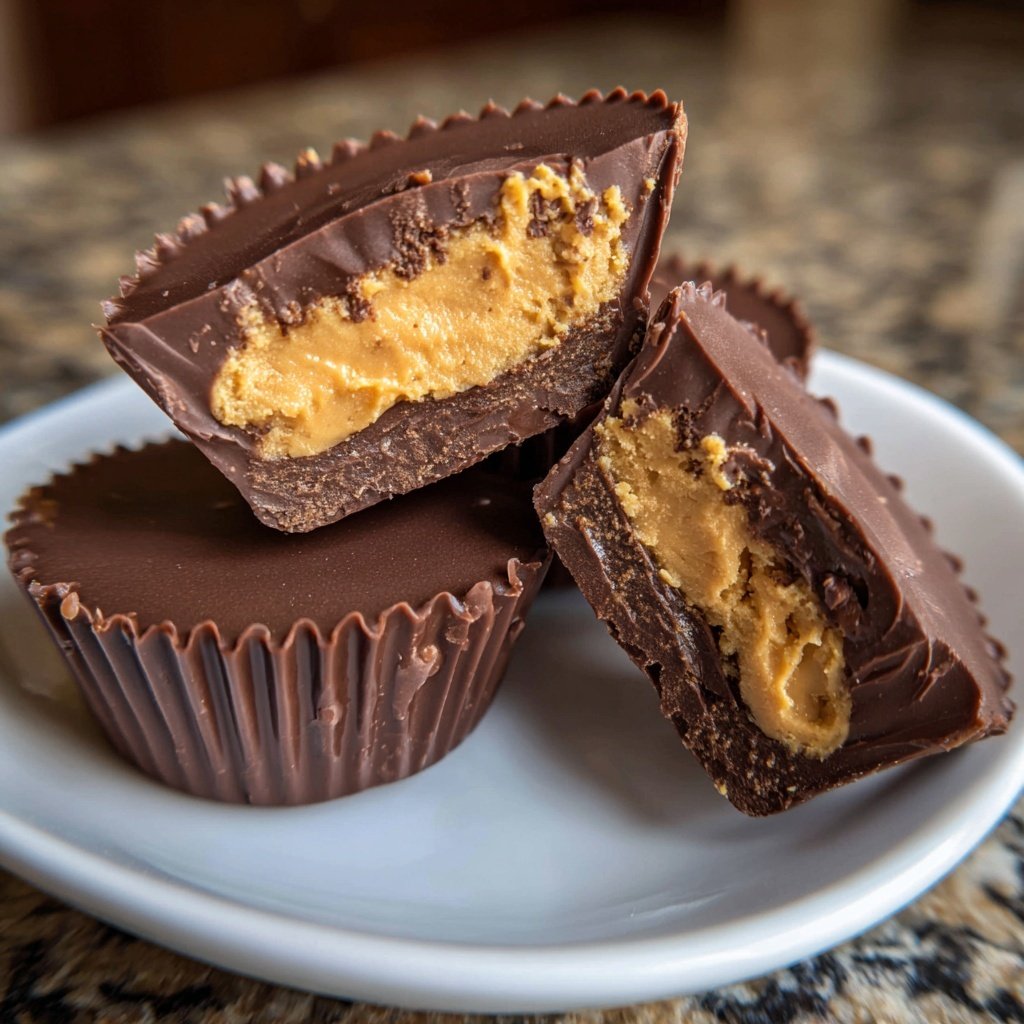
The texture of the peanut butter layer is what makes these cups feel truly luxurious. Aim for a filling that’s soft enough to bite through easily but firm enough to hold its shape when cut. If your peanut butter is very runny, whisk in a little extra powdered sugar or finely ground oats until the mixture looks thick, matte, and scoopable rather than glossy and pourable. Chill the filling briefly before shaping to prevent it from spreading into the chocolate.
Salt balance is crucial with dark cocoa, so taste the peanut butter mixture before you chill it. If you’re using a natural peanut butter with no added salt or sugar, you’ll likely need a pinch of fine salt and a bit more sweetener to keep the filling from tasting flat against the intense chocolate shell. For crunchy peanut butter, expect slightly more crumbling; press the filling firmly into discs so the pieces stay together when you pour the warm chocolate over them.
For a cleaner peanut flavor and smoother bite, avoid overheating the filling. If the recipe calls for softening the peanut butter slightly, do it in short bursts in the microwave at low power, stirring often, just until it loosens. Overheating can cause the oils to separate and create a greasy ring once chilled. If this happens, beat in a teaspoon or two of starch (like cornstarch) or extra powdered sugar until the mixture looks cohesive and the oil is reabsorbed.
Getting the Dark Cocoa Shell Just Right
Dark cocoa needs gentle heat to stay silky and avoid seizing. When melting the chocolate, keep the heat low—either a double boiler with barely simmering water or 15–20 second microwave bursts at 50% power. Stir well between intervals until the mixture is smooth and glossy, with no visible lumps. If it begins to thicken or look grainy, stir in 1–2 teaspoons of neutral oil to restore a pourable, shiny consistency without dulling the dark flavor.
The thickness of the chocolate layers determines how satisfying each bite feels. When lining the muffin cups, tip and rotate them so a thin, even layer creeps up the sides, leaving no bare spots. You want just enough chocolate to fully enclose the filling without creating an overly thick base that’s hard to bite through. If the first coat looks translucent, chill it for 5–7 minutes, then add a second, thinner layer to reinforce the sides before adding the filling.
Temperature control during setting affects the final snap of the shell. Chill the assembled cups for 20–30 minutes, just until the tops are firm and matte rather than sticky. If left in the fridge for hours, condensation may form when brought to room temperature, softening the surface and slightly muting the shine. I like to transfer the cups to an airtight container once set; this keeps them from absorbing fridge odors and maintains a pleasant, crisp bite around the creamy center.
Variations and Dietary Tweaks
These cups adapt easily to different sweetness and intensity levels. For a bolder dark chocolate experience, use a higher percentage cocoa chocolate and slightly increase the sweetener in the peanut butter layer to keep the overall balance. If you prefer milder bitterness, choose a semi-sweet chocolate and reduce the sugar in the filling by a tablespoon or two. You can also swirl a tiny ribbon of honey into the top chocolate layer for a subtle floral note without changing the basic structure.
For dairy-free or vegan versions, swap the chocolate for a certified dairy-free dark bar or chips and use plant-based butter or coconut oil in the peanut butter mixture if the recipe calls for added fat. Choose refined coconut oil if you don’t want a coconut aroma competing with the roasted peanut flavor. The cups will firm a little more in the fridge when using coconut oil, so let them sit at room temperature for 5–10 minutes before serving for a softer, creamier center.
Nut allergies don’t rule out this recipe; the method works well with other butters. Sunflower seed butter mimics the richness of peanut butter but can be slightly looser, so increase the dry ingredient (like powdered sugar) a bit to maintain structure. Almond or cashew butter yield a more delicate flavor that pairs beautifully with dark cocoa. Just keep an eye on sweetness—some alternatives are naturally sweeter or salted differently, so always taste the filling before you portion it into the chocolate shells.
Make-Ahead, Storage, and Freezing
These dark cocoa peanut butter cups are ideal for making ahead because their texture actually improves after a short rest. Once fully set, store them in a single layer in an airtight container in the refrigerator for up to one week. If you need to stack them, separate layers with parchment to protect the tops from smudging. Before serving, bring them out 5–10 minutes early so the peanut center softens slightly while the chocolate shell stays pleasantly firm.
For longer storage, freeze the cups on a baking sheet until solid, then transfer them to a freezer-safe bag or container, pressing out excess air. They keep well for about two months without losing flavor. When you’re ready to enjoy, thaw them in the refrigerator for 1–2 hours, then let them sit briefly at room temperature. Avoid thawing directly on the counter from frozen; the temperature shock can cause surface bloom, giving the dark cocoa a dull, streaky appearance.
Serving Ideas and Presentation
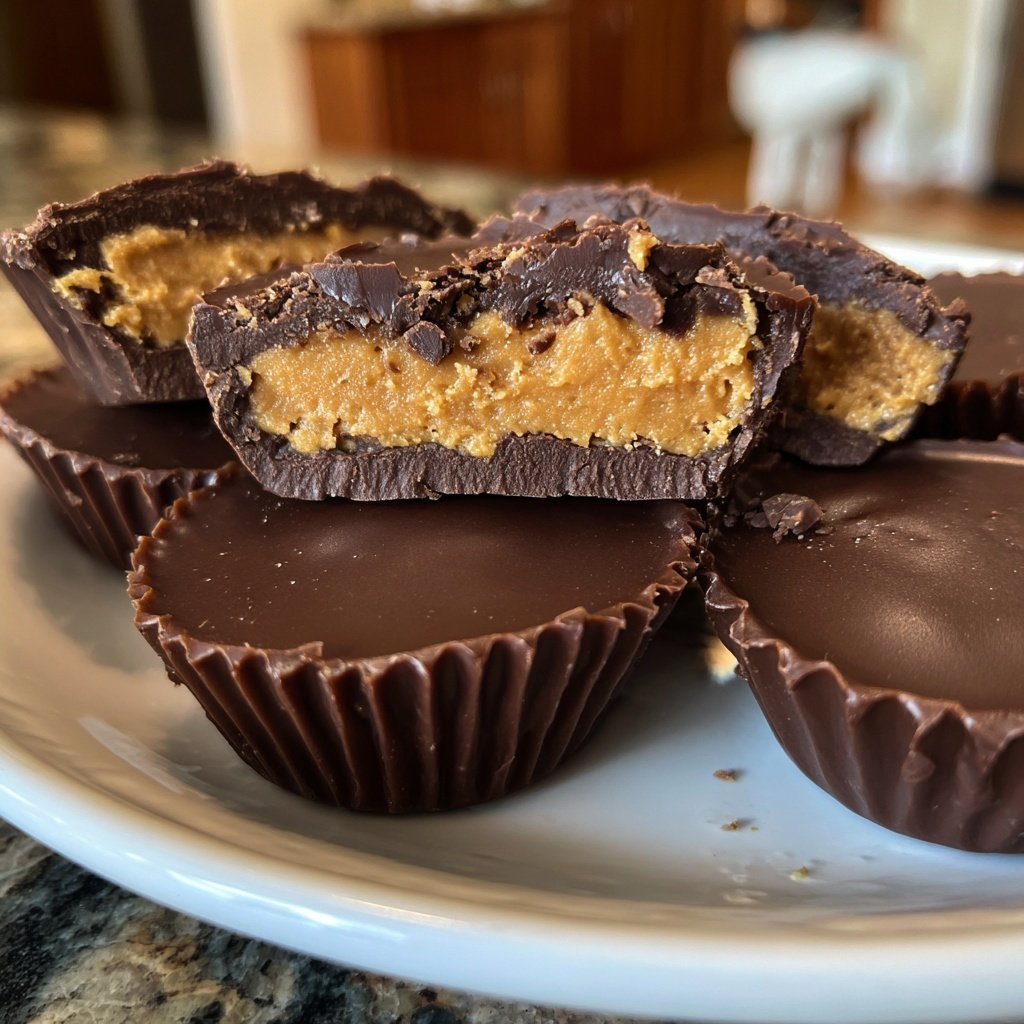
The contrast between the dark cocoa shell and peanut filling makes these cups visually striking with very little effort. Use dark brown or simple white paper liners to highlight the rich color of the chocolate once unwrapped. For a small finishing touch, sprinkle a few flakes of sea salt or a light dusting of dark cocoa powder on top before the chocolate fully sets. The salt heightens the roasted peanut flavor and adds a tiny crunch that echoes the snap of the shell.
You can easily adjust the size of the cups to match the occasion by swapping pan types. A standard muffin pan yields indulgent, bakery-style treats, while a mini muffin pan creates bite-sized cups that are easier to portion for gatherings. When making minis, shorten the chilling times slightly, since smaller cups set faster. I like to arrange an assortment of sizes on a platter; the larger ones can be cut in halves or quarters to show off the layered interior.
Scaling and Troubleshooting
Scaling this recipe up or down is straightforward, but chocolate volume can be deceptive. When doubling, melt the chocolate in batches so it doesn’t cool and thicken before you finish lining all the cups. If you find yourself short on chocolate for the tops, don’t panic—spread a thinner layer over each cup and use a spatula to smooth it to the edges, or melt a small additional amount and rewarm the existing chocolate gently to keep the texture consistent.
If your cups stick to the liners or break when you unwrap them, the chocolate layer is usually too thin at the base or the cups were removed while still slightly soft. Next time, add a touch more chocolate to the bottom layer and chill a bit longer until very firm before peeling. If the peanut filling separates from the shell when bitten, it likely went into the cups while still warm or oily; let the filling cool until just firm before pressing into the chocolate.
A common issue with dark cocoa shells is dull or streaky tops after chilling. This usually comes from rapid temperature changes or a bit of steam or water getting into the melted chocolate. Always dry your bowl and spatula thoroughly before melting, and avoid placing the warm chocolate directly under very cold air in the fridge. If the tops do turn dull, they’re still perfectly delicious; you can disguise the appearance with a light dusting of cocoa or a decorative drizzle of reheated chocolate.