Super Bowl Baked Veggie Quesadilla Squares
Highlighted under: Weeknight Quick Meals Collection
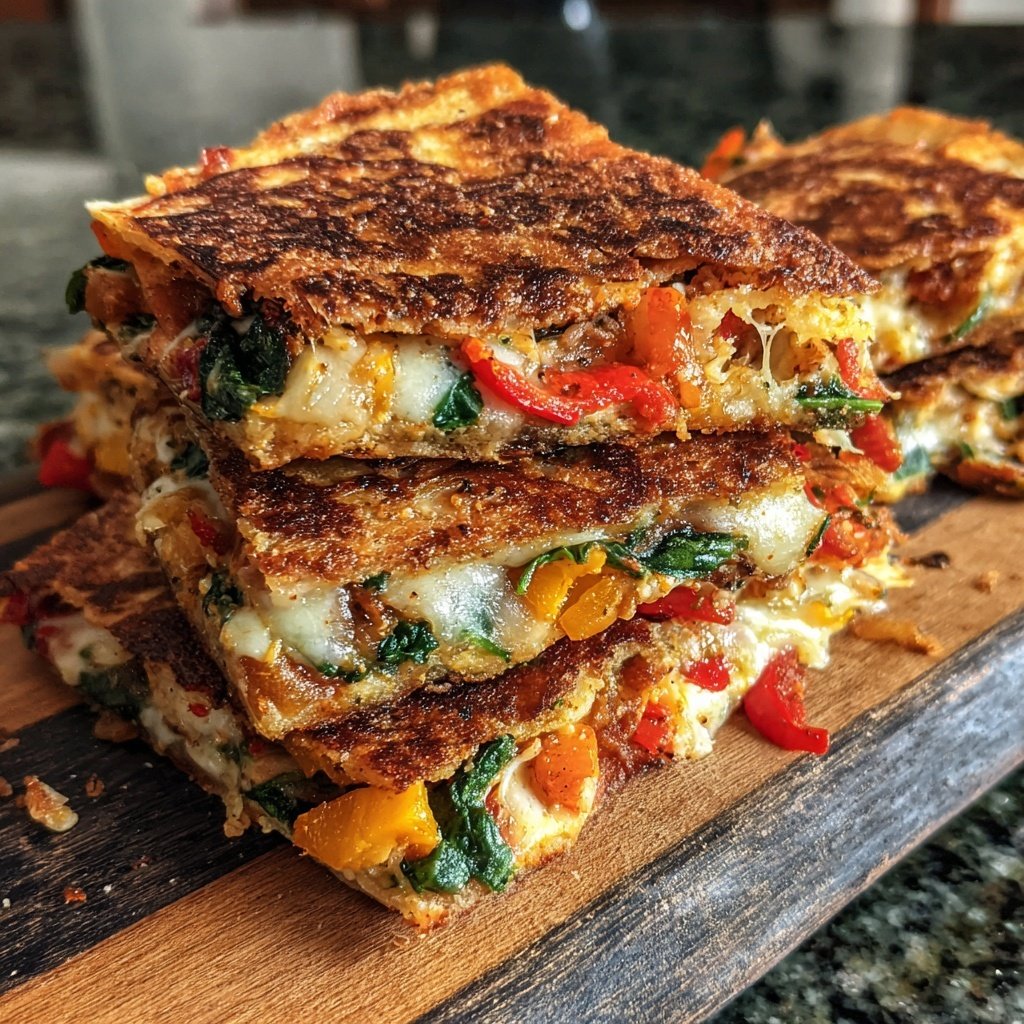
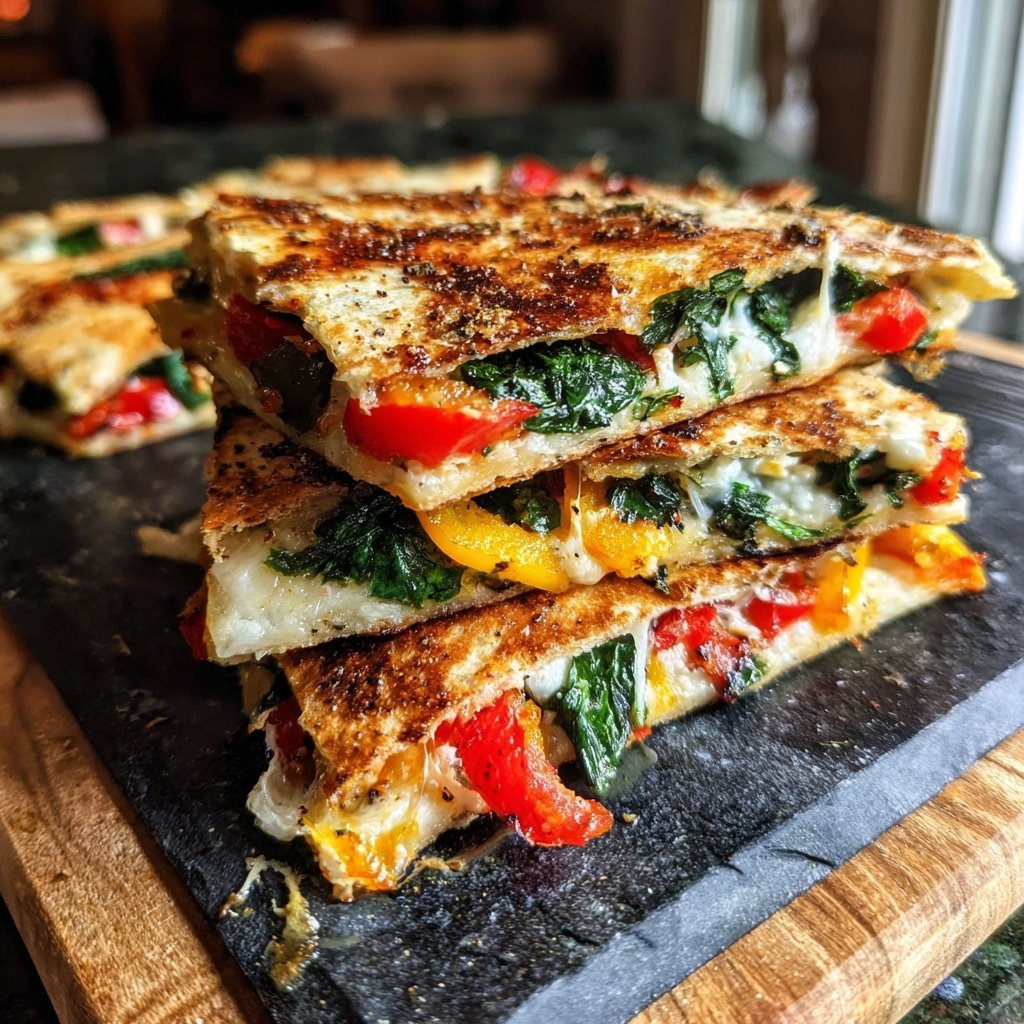
I love hosting Super Bowl parties, and these Baked Veggie Quesadilla Squares are always a crowd favorite. They’re packed with colorful vegetables and melted cheese, creating the ultimate party bite that’s both delicious and satisfying. The best part is they’re super easy to make in large batches. I often make a double portion to ensure there's plenty to go around, so everyone can enjoy them while cheering for their favorite team. Trust me, these tasty squares will be the star of the game day menu!
When I first made these Baked Veggie Quesadilla Squares for a Super Bowl gathering, I knew I had stumbled upon a winning recipe. The crispy edges combined with the gooey, cheesy center were an immediate hit. I love experimenting with different veggies, which makes each batch unique. Adding fresh herbs really elevates the flavor profile, transforming a simple snack into a gourmet experience.
Over the years, I’ve learned that the key to getting the perfect crispiness is to bake them on a parchment-lined baking sheet. This not only makes for easier cleanup but also allows the quesadillas to brown evenly without sticking. Trust me; it's worth it for that perfect golden finish!
You'll Love These Quesadilla Squares Because:
- Crispy on the outside with a melty cheese center
- Versatile fillings for endless flavor combinations
- Perfect finger food for your Super Bowl party
Perfecting the Quesadilla Texture
Achieving the ideal texture for your quesadilla squares involves the right balance of cooking time and temperature. Baking them at 400°F (200°C) allows the tortillas to crisp up without burning while giving the cheese enough time to melt. Keep an eye on them during the last few minutes of baking—you're looking for a beautiful golden-brown color on the edges and a slightly puffy appearance, indicating that the filling is cooked through and deliciously gooey inside.
To enhance the crispiness of your quesadilla squares, consider using a hot cast iron skillet instead of a baking sheet. After assembling the quesadillas, place them in the preheated skillet for 2-3 minutes on each side before transferring them to the oven. This method not only adds a lovely crust but also seals the edges, preventing any filling from escaping during the baking process.
Ingredient Insights and Substitutions
The choice of cheese is critical to the flavor and melting quality of your quesadilla squares. Cheddar and Monterey Jack are both excellent options, but for a more gourmet twist, try Gruyère or Pepper Jack for added spice. If you're looking for a dairy-free alternative, vegan cheese options made from nuts or soy can also work well—just ensure they're designed for melting to get that satisfying gooeyness.
When it comes to vegetables, feel free to get creative! If zucchini isn't in season or you want to switch things up, try substituting it with mushrooms or spinach. Both options bring unique flavors and textures—a sautéed mixture of mushrooms will add an earthy depth, while spinach adds a fresh, slightly sweet note. Don’t hesitate to mix in other ingredients like black beans or shredded carrots for an even heartier filling.
Make Ahead and Storage Tips
These quesadilla squares can be made ahead of time, making them perfect for busy game day preparations. After assembling and before baking, cover them tightly with plastic wrap and store in the fridge for up to 24 hours. When you’re ready to bake, just remove the wrap and follow the baking instructions as normal. For longer storage, you can freeze the assembled quesadillas; simply place them in a single layer in a freezer-safe container for up to three months.
If you've got leftovers, they reheat beautifully in the oven. Preheat the oven to 350°F (175°C), place the quesadilla squares on an oven-safe dish, cover loosely with foil to prevent drying out, and heat for about 10-15 minutes. Alternatively, you can microwave them for quick warming—just be aware that this method might not preserve the crispiness as well as the oven.
Ingredients
Gather these ingredients to get started:
Ingredients
- 4 large flour tortillas
- 1 cup shredded cheese (cheddar or Monterey Jack)
- 1 red bell pepper, diced
- 1 green bell pepper, diced
- 1 small zucchini, diced
- 1 small onion, diced
- 1 cup corn (fresh or frozen)
- 1 tsp chili powder
- 1 tsp cumin
- Salt and pepper to taste
- Cooking spray or olive oil for brushing
Make sure to adjust the fillings based on your preferences!
Instructions
Follow these steps to create delicious quesadilla squares:
Preheat the Oven
Preheat your oven to 400°F (200°C) and line a baking sheet with parchment paper.
Prepare the Filling
In a bowl, combine the diced bell peppers, zucchini, onion, corn, chili powder, cumin, salt, and pepper.
Assemble the Quesadillas
Lay a tortilla flat, sprinkle half of it with cheese, add a portion of the veggie mixture, and fold the other half over. Repeat with remaining tortillas.
Bake
Brush the tops of the quesadillas with olive oil or cooking spray and place them on the baking sheet. Bake for 15-20 minutes, until golden and crispy.
Cut and Serve
Remove from the oven and let cool for a couple of minutes. Cut into squares and serve warm with salsa or guacamole.
These squares can be served with dipping sauces for added flavor!
Pro Tips
- Feel free to mix and match your favorite vegetables, and consider adding black beans or cooked chicken for extra protein!
Serving Suggestions
Thesequesadilla squares are incredibly versatile when it comes to dipping sauces. While classic salsa and guacamole pair beautifully, consider adding a zesty chipotle aioli or a creamy avocado dressing for an exciting twist. A sprinkle of fresh cilantro or a squeeze of lime juice right before serving can elevate the flavors and add a burst of freshness that complements the richness of the cheese and veggies.
For a fun presentation, arrange your quesadilla squares on a large platter, accompanied by a variety of dipping options. You can create a DIY dipping station for guests to choose from—this not only makes the experience interactive but also allows everyone to tailor their taste preferences while enjoying the game.
Troubleshooting Common Issues
If you find that your quesadilla squares are coming out soggy, this could be due to excess moisture from the vegetables. To prevent this issue, consider sautéing your diced veggies lightly before mixing them in with the cheese. This step allows any excess water to evaporate, ensuring that your quesadillas retain their crispy texture when baked.
Another common challenge is uneven cooking or burning of the tortillas. If you notice that one side is browning faster than the other, rotate the baking sheet halfway through the baking time. This helps ensure even heat distribution and prevents the risk of burnt edges while allowing the center to cook through adequately.
Questions About Recipes
→ Can I make these quesadilla squares in advance?
Yes! You can prepare them ahead of time, cover, and refrigerate. Bake just before serving.
→ What can I serve with these quesadilla squares?
They pair well with salsa, sour cream, or guacamole for dipping.
→ Can I use different types of cheese?
Absolutely! Feel free to experiment with your favorite cheeses for a different flavor.
→ How do I store leftovers?
Store any leftovers in an airtight container in the refrigerator for up to 3 days. Reheat in the oven for best results.
Super Bowl Baked Veggie Quesadilla Squares
Created by: Matilda Rowe
Recipe Type: Weeknight Quick Meals Collection
Skill Level: Easy
Final Quantity: 4-6 servings
What You'll Need
Ingredients
- 4 large flour tortillas
- 1 cup shredded cheese (cheddar or Monterey Jack)
- 1 red bell pepper, diced
- 1 green bell pepper, diced
- 1 small zucchini, diced
- 1 small onion, diced
- 1 cup corn (fresh or frozen)
- 1 tsp chili powder
- 1 tsp cumin
- Salt and pepper to taste
- Cooking spray or olive oil for brushing
How-To Steps
Preheat your oven to 400°F (200°C) and line a baking sheet with parchment paper.
In a bowl, combine the diced bell peppers, zucchini, onion, corn, chili powder, cumin, salt, and pepper.
Lay a tortilla flat, sprinkle half of it with cheese, add a portion of the veggie mixture, and fold the other half over. Repeat with remaining tortillas.
Brush the tops of the quesadillas with olive oil or cooking spray and place them on the baking sheet. Bake for 15-20 minutes, until golden and crispy.
Remove from the oven and let cool for a couple of minutes. Cut into squares and serve warm with salsa or guacamole.
Extra Tips
- Feel free to mix and match your favorite vegetables, and consider adding black beans or cooked chicken for extra protein!
Nutritional Breakdown (Per Serving)
- Calories: 290 kcal
- Total Fat: 12g
- Saturated Fat: 5g
- Cholesterol: 20mg
- Sodium: 350mg
- Total Carbohydrates: 36g
- Dietary Fiber: 3g
- Sugars: 2g
- Protein: 8g