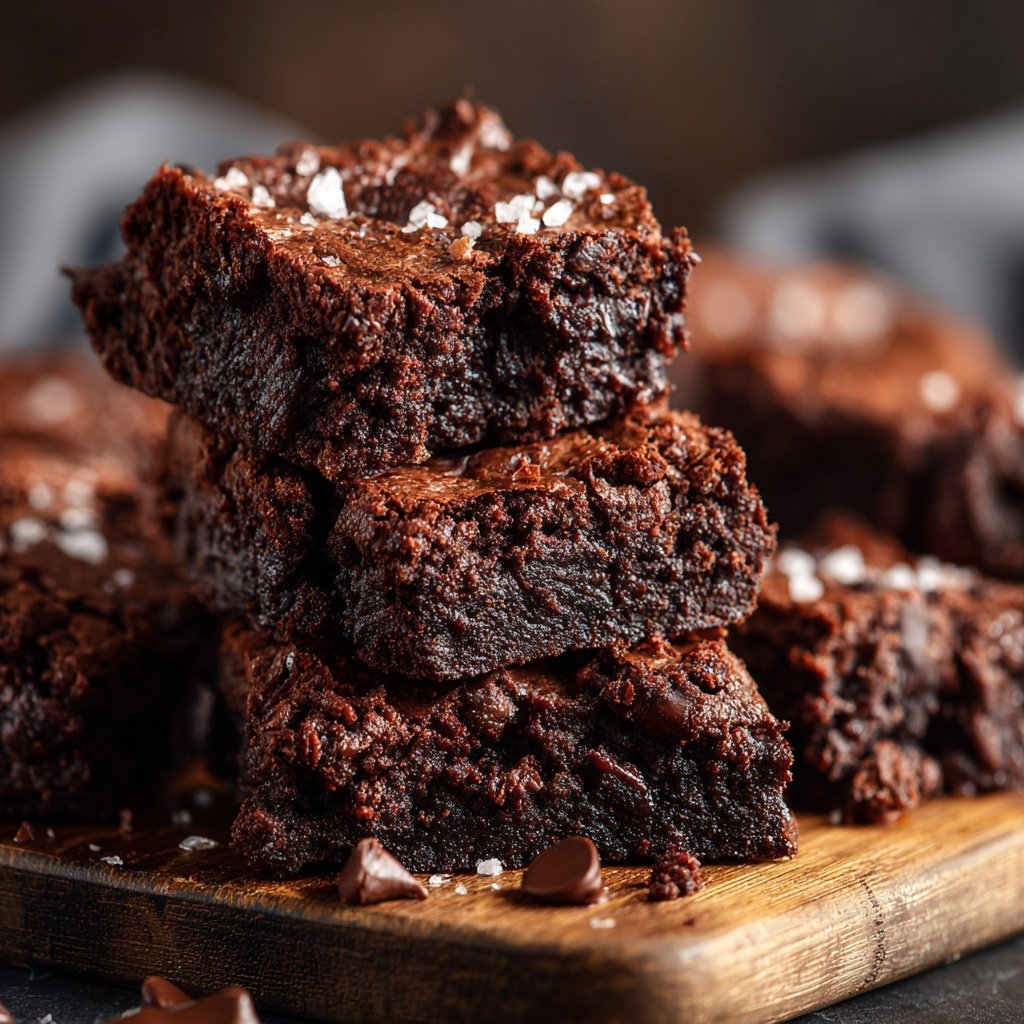
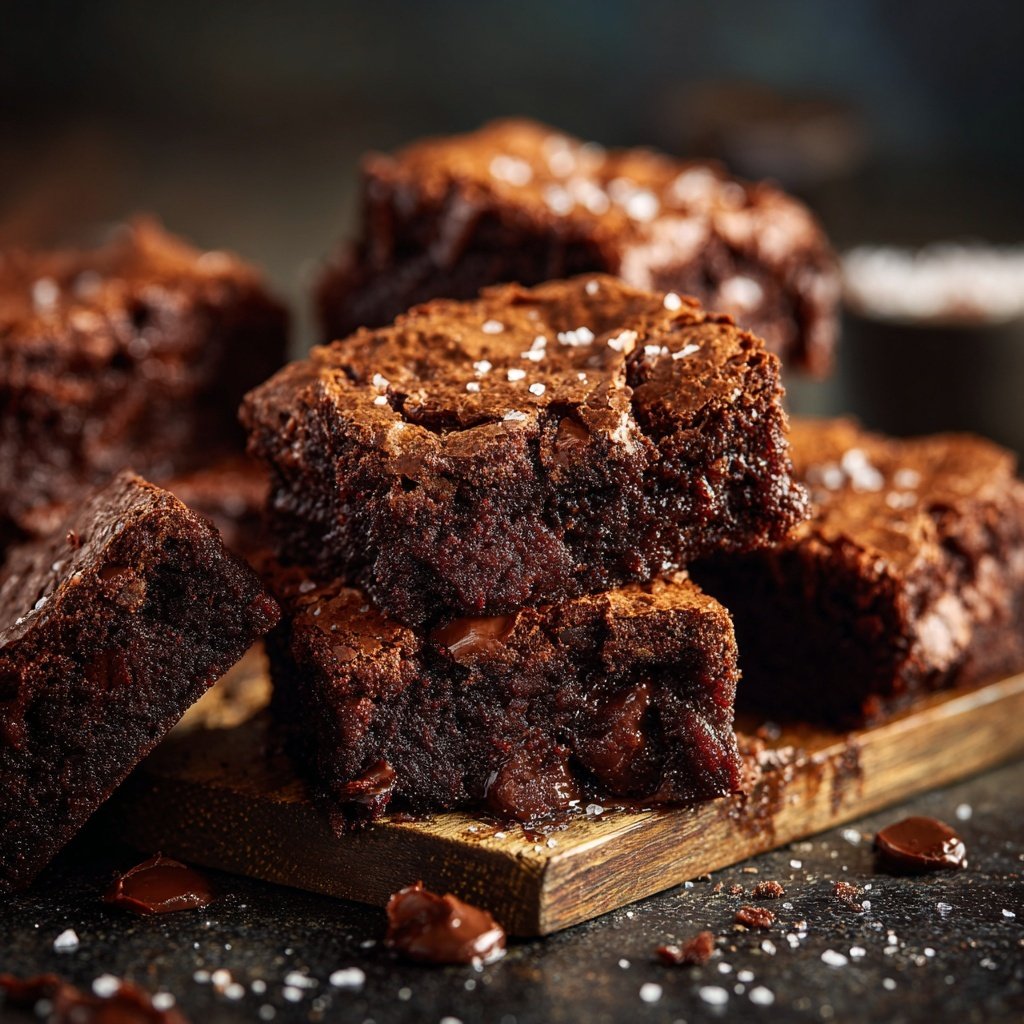
Chewy Brownies Using Sourdough Starter
Highlighted under: Simple Baking Collection
I absolutely love experimenting in the kitchen, and using a sourdough starter in my brownies has become a delightful favorite of mine! The tangy flavor of the sourdough beautifully complements the rich cocoa, making for an incredibly chewy texture that’s hard to resist. I enjoy the process of combining these ingredients, and the aroma of baking fills my home with warmth. This recipe is perfect for any occasion, or simply when a chocolate craving strikes. You won't believe how incredible brownies can taste with just a twist!
When I first tried making brownies with a sourdough starter, I had no idea how transformative it would be. The combination of the sourdough's natural fermentation gives the brownies a depth and richness that elevates them to a whole new level. Through trial and error, I found that adjusting the sugar content slightly balances out the tanginess and ensures the perfect chewy texture in every bite.
I've experimented with adding different mix-ins like walnuts or chocolate chips, but I've come to love the basic recipe pure and simple. The brownies come out so fudgy and delicious that they rarely last more than a day in my house. Trust me, this twist on an old classic will leave your friends and family begging for the recipe!
Why You'll Love These Brownies
- Rich chocolate flavor with a unique sourdough twist
- Incredibly chewy and fudgy texture
- Perfect pairing for a scoop of vanilla ice cream
Understanding the Role of Sourdough Starter
The sourdough starter acts as a natural leavening agent in these brownies, introducing a slight tang that enhances the rich chocolate flavor. This fermentation process adds complexity, making each bite incredibly satisfying. It's essential to use an active and bubbly starter; a stale starter may yield dense and unappetizing brownies. To ensure it's ready, feed your starter 4-6 hours before baking, and look for a doubled volume with plenty of bubbles on the surface.
Another key aspect is how the sourdough contributes moisture to the brownies. The starter contains a mixture of flour and water, which helps achieve a fudgy texture. If you find your starter is too thick, you can thin it out by adding a tablespoon of water before mixing it with your wet ingredients, but be cautious not to disrupt the overall batter consistency.
Techniques for Perfect Chewy Brownies
To achieve that desirable chewy texture, it's crucial not to overmix the batter once the dry ingredients are added. Folding rather than whisking prevents the formation of too much gluten, which can lead to cakey brownies instead of chewy ones. Combine until just incorporated, and you'll see pockets of dry flour remain. This helps maintain the perfect density while providing a contrasting richness from the melted chocolate chips, which can create gooey pockets that are oh-so-delicious.
When baking, keep a close eye on your brownies. The baking time is critical; they should come out when the edges are set but the center looks slightly underbaked. A toothpick should emerge with a few moist crumbs, signifying that they will continue to cook even after being removed from the oven. If overbaked, your brownies will lose their signature chewiness and become dry.
Storing and Serving Suggestions
These brownies store beautifully! Allow them to cool completely, then wrap them tightly in plastic wrap or transfer them to an airtight container. They can be kept at room temperature for up to 3 days or refrigerated for up to a week. For longer storage, you can freeze individual brownies, layered with parchment paper in an airtight container, which keeps them fresh for up to three months. Just make sure to thaw them at room temperature before enjoying!
Serving ideas are endless! These chewy brownies can stand alone or be dressed up for special occasions. I love serving them warm with a scoop of vanilla ice cream and a drizzle of chocolate sauce for a delicious dessert. Or, for an exciting twist, consider adding nuts, like walnuts or pecans, for added texture. Finally, a sprinkle of sea salt on top right out of the oven can elevate the flavor profile remarkably, balancing the sweetness.
Ingredients
Gather these ingredients to get started:
Brownie Ingredients
- 1 cup unsalted butter, melted
- 1 cup granulated sugar
- 1 cup light brown sugar, packed
- 1 cup sourdough starter, active and bubbly
- 1 cup all-purpose flour
- 1 cup unsweetened cocoa powder
- 4 large eggs
- 1 teaspoon vanilla extract
- 1/2 teaspoon salt
- 1/2 cup chocolate chips (optional)
Make sure all ingredients are at room temperature for the best results.
Instructions
Follow these steps to bake the perfect brownies:
Prepare Your Oven
Preheat your oven to 350°F (175°C) and grease a 9x13-inch baking pan.
Mix Wet Ingredients
In a large bowl, combine the melted butter, granulated sugar, brown sugar, and sourdough starter. Mix until smooth.
Add Eggs and Vanilla
Whisk in the eggs, one at a time, and add the vanilla extract until well incorporated.
Combine Dry Ingredients
In another bowl, sift together the flour, cocoa powder, and salt. Gradually fold the dry mixture into the wet ingredients.
Add Chocolate Chips
If using, fold in the chocolate chips for added richness.
Bake the Brownies
Pour the batter into the prepared pan and spread it evenly. Bake for 25-30 minutes, or until a toothpick comes out with a few moist crumbs.
Cool and Slice
Allow the brownies to cool in the pan for at least 10 minutes before slicing them into squares.
Enjoy your delicious brownies!
Pro Tips
- For extra flavor, try adding a teaspoon of espresso powder to the batter to enhance the chocolate richness.
Ingredient Substitutions
If you’re looking to make these brownies gluten-free, simply substitute the all-purpose flour with a 1:1 gluten-free baking mix. Make sure it contains xanthan gum, which helps maintain the structure and chewiness of the brownies. Also, feel free to experiment with different chocolate types; dark chocolate chips can intensify the rich cocoa flavor if you prefer a deeper chocolate experience.
For those who want a lower sugar option, you can reduce the granulated sugar by one-third while still achieving excellent results. Alternatively, using coconut sugar in place of brown sugar will give your brownies a caramel-like flavor, adding a further layer of complexity to each bite.
Troubleshooting Common Issues
If your brownies come out too cakey, it’s likely due to excessive mixing or overstirring after adding the flour. Remember, just fold until combined. On the flip side, if they sink in the middle after baking, they may not have been cooked long enough, or your oven temperature could be inaccurate. Always check with an oven thermometer to ensure proper baking conditions.
For a shiny top crust that is often desired, consider using a technique called the 'melt and mix.' Start by melting the butter and both sugars together, then mix until glossy before incorporating the eggs. This method helps form that tantalizing crackly top layer that’s visually appealing and adds to the overall texture.
Questions About Recipes
→ Can I use a different type of flour?
You can experiment with whole wheat flour for a nuttier flavor, but it may alter the texture.
→ How long do these brownies stay fresh?
They can be stored in an airtight container at room temperature for up to 3 days.
→ Can I freeze the brownies?
Yes, you can freeze them for up to 3 months. Just wrap them tightly in plastic wrap.
→ What can I substitute for eggs?
You can use flax eggs or applesauce as a substitute, but the texture may slightly change.
Chewy Brownies Using Sourdough Starter
Created by: Matilda Rowe
Recipe Type: Simple Baking Collection
Skill Level: Intermediate
Final Quantity: 12 servings
What You'll Need
Brownie Ingredients
- 1 cup unsalted butter, melted
- 1 cup granulated sugar
- 1 cup light brown sugar, packed
- 1 cup sourdough starter, active and bubbly
- 1 cup all-purpose flour
- 1 cup unsweetened cocoa powder
- 4 large eggs
- 1 teaspoon vanilla extract
- 1/2 teaspoon salt
- 1/2 cup chocolate chips (optional)
How-To Steps
Preheat your oven to 350°F (175°C) and grease a 9x13-inch baking pan.
In a large bowl, combine the melted butter, granulated sugar, brown sugar, and sourdough starter. Mix until smooth.
Whisk in the eggs, one at a time, and add the vanilla extract until well incorporated.
In another bowl, sift together the flour, cocoa powder, and salt. Gradually fold the dry mixture into the wet ingredients.
If using, fold in the chocolate chips for added richness.
Pour the batter into the prepared pan and spread it evenly. Bake for 25-30 minutes, or until a toothpick comes out with a few moist crumbs.
Allow the brownies to cool in the pan for at least 10 minutes before slicing them into squares.
Extra Tips
- For extra flavor, try adding a teaspoon of espresso powder to the batter to enhance the chocolate richness.
Nutritional Breakdown (Per Serving)
- Calories: 380 kcal
- Total Fat: 26g
- Saturated Fat: 15g
- Cholesterol: 195mg
- Sodium: 85mg
- Total Carbohydrates: 32g
- Dietary Fiber: 3g
- Sugars: 24g
- Protein: 6g