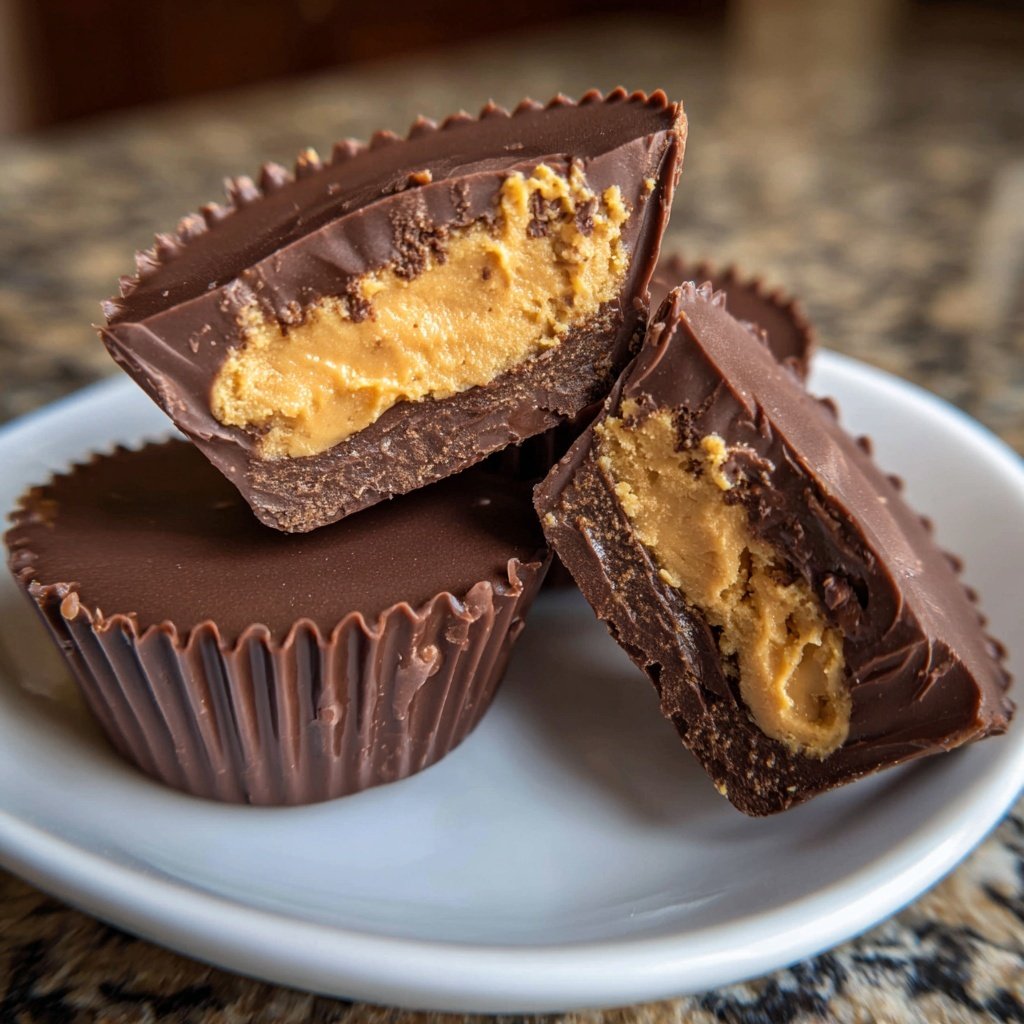
Homemade Peanut Butter Cups with Dark Cocoa
Highlighted under: Simple Baking Collection
I absolutely love making these Homemade Peanut Butter Cups with Dark Cocoa! They are an easy and delightful treat that satisfies my sweet cravings. The combination of creamy peanut butter and rich dark cocoa creates a mouthwatering experience. Plus, I enjoy customizing them with different toppings for an extra touch. With a bit of patience during the freezing process, I can whip up a delicious batch that my friends and family adore. Trust me, once you try these, you'll find them hard to resist!
When I first made these Homemade Peanut Butter Cups, I was amazed by how simple yet decadent they turned out. I experimented by adjusting the ratio of peanut butter to cocoa, and I found that a 2:1 ratio works best. Not only does it balance the flavors perfectly, but it also ensures a creamy texture that complements the chocolate shell.
Over time, I've discovered that using high-quality dark cocoa powder elevates the overall taste. Also, freezing the cups for just the right amount of time helps them set perfectly, making them easier to unwrap. They truly are the perfect sweet treat!
Why You'll Love This Recipe
- Rich chocolate flavor paired with nutty peanut butter
- Creamy texture that melts in your mouth
- Perfect for celebrations or as a sweet indulgence
Ingredients and Their Importance
The key to achieving the perfect texture in your Homemade Peanut Butter Cups lies in the quality of your chocolate. Opt for high-quality dark chocolate chips that contain at least 60% cocoa; this will enhance the richness and flavor profile of your treat. Avoid using chocolate with too many additives, as they can affect the melting process and overall texture. When melted, the chocolate should be glossy and smooth, which will help create a delightful ganache-like layer that pairs beautifully with the peanut butter filling.
Peanut butter serves as the heart of the filling, contributing both taste and creaminess. For a richer flavor, consider using natural peanut butter, which has a more pronounced nutty taste. If you have nut allergies, feel free to swap it with sunflower seed butter or a seed butter of your choice. The powdered sugar is essential not only for sweetness but also for achieving that perfect creamy consistency; it helps the peanut butter blend more seamlessly, making it easier to spread on your chocolate layer.
Layering Technique
When assembling your peanut butter cups, the layering technique is crucial for achieving that signature look and taste. After pouring your initial layer of chocolate, let it set in the freezer for about 10-15 minutes—just until it’s firm but not completely hard. This step ensures that when you add the peanut butter layer, it adheres well without mixing into the chocolate. You’ll know it’s ready when you can gently press on the chocolate, and it offers slight resistance but doesn’t crack.
Don’t rush the final layer of chocolate; it’s vital for sealing in the delicious peanut butter filling. Pour enough melted chocolate to create a thick layer over the filling, aiming for at least a quarter of an inch thick. This additional layer not only protects the filling but also provides a satisfying crunch when bitten into. Ensure that the top layer is spread evenly and fully encases the peanut butter; any exposed areas could result in a less-than-perfect bite.
Customization and Serving Suggestions
Feel free to get creative with your toppings! Chopped nuts, such as almonds or pecans, can add a delightful crunch and elevate the flavor profile. If you're a coconut lover, a sprinkle of shredded coconut can introduce a tropical twist to your Homemade Peanut Butter Cups. For a sophisticated dessert, consider drizzling melted dark chocolate or white chocolate over the top once they’re set, giving them a gourmet appearance and extra sweetness.
These peanut butter cups can be stored in an airtight container in the freezer for up to two months, making them an excellent make-ahead treat. Serve them chilled for a firmer bite, or let them sit at room temperature for about 10-15 minutes for a softer texture. They make perfect party favors or end-of-meal treats. You can even package them in decorative boxes to give as gifts—everyone loves a little homemade indulgence!
Ingredients
For the Cups
- 1 cup dark chocolate chips
- 1/2 cup peanut butter
- 1/4 cup powdered sugar
- 1 tsp vanilla extract
- 1/4 tsp salt
For Topping (optional)
- Chopped nuts
- Sea salt flakes
- Shredded coconut
Ensure all ingredients are at room temperature for the best mixing results.
Instructions
Melt the Chocolate
In a heatproof bowl, melt the dark chocolate chips over a double boiler or in the microwave in 30-second intervals until smooth.
Prepare the Muffin Tin
Line a muffin tin with cupcake liners, and pour a spoonful of melted chocolate into each liner, swirling it to cover the bottom.
Mix Peanut Butter Filling
In a bowl, mix the peanut butter, powdered sugar, vanilla extract, and salt until smooth and creamy.
Add the Filling
Once the chocolate layer has set partially, add a spoonful of peanut butter mixture on top of the chocolate, spreading it evenly.
Top with More Chocolate
Pour another layer of melted chocolate on top of the peanut butter, ensuring it completely covers the filling.
Chill and Serve
Place the muffin tin in the freezer for 30 minutes, or until fully set. Remove from the muffin tin and enjoy!
Store any leftovers in an airtight container in the refrigerator.

Pro Tips
- For an extra kick, consider adding a pinch of cinnamon to the peanut butter mixture or using flavored chocolate.
Troubleshooting Common Issues
If your chocolate layer is too thick or not setting properly, it could be due to overheating during the melting process. Always melt chocolate over low heat or in small intervals in the microwave, stirring frequently until just melted. If you encounter a grainy texture, this often indicates that moisture got into your chocolate; to fix it, try adding a small amount of vegetable oil or warm cream to bring it back to a smooth consistency.
Another frequent issue is the peanut butter filling being too runny. If this happens, you can add more powdered sugar incrementally until it reaches a creamy, spreadable consistency. It should hold its shape when placed on the chocolate layer without running off.
Scaling the Recipe
Scaling up your recipe is simple. To make a larger batch, just multiply the ingredient quantities by the desired factor (e.g., double the ingredients for two dozen cups). Keep in mind that the melting and freezing times may need slight adjustments; a larger batch could require a bit more time to cool completely in the freezer, so be prepared to add an extra 5-10 minutes to each step as needed.
For smaller batches, you can easily halve the ingredients for a quick treat without needing to adjust cooking times. Use a smaller muffin tin or silicone molds to create mini versions of these cups; they make an adorable and shareable dessert. Mini cups can be a fun, bite-sized option, perfect for parties or for a little indulgence without committing to a full-sized treat.
Questions About Recipes
→ Can I use milk chocolate instead of dark chocolate?
Yes, you can substitute milk chocolate, but it will change the flavor profile to be sweeter.
→ How should I store these Peanut Butter Cups?
Store them in an airtight container in the fridge for up to a week.
→ Can I make these vegan?
Absolutely! Use dairy-free chocolate chips and natural peanut butter without added sugars.
→ Can I customize the filling?
Yes, you can add ingredients like crushed pretzels or dried fruits to the peanut butter filling for added texture.
Homemade Peanut Butter Cups with Dark Cocoa
Created by: Matilda Rowe
Recipe Type: Simple Baking Collection
Skill Level: Easy
Final Quantity: 12 cups
What You'll Need
For the Cups
- 1 cup dark chocolate chips
- 1/2 cup peanut butter
- 1/4 cup powdered sugar
- 1 tsp vanilla extract
- 1/4 tsp salt
For Topping (optional)
- Chopped nuts
- Sea salt flakes
- Shredded coconut
How-To Steps
In a heatproof bowl, melt the dark chocolate chips over a double boiler or in the microwave in 30-second intervals until smooth.
Line a muffin tin with cupcake liners, and pour a spoonful of melted chocolate into each liner, swirling it to cover the bottom.
In a bowl, mix the peanut butter, powdered sugar, vanilla extract, and salt until smooth and creamy.
Once the chocolate layer has set partially, add a spoonful of peanut butter mixture on top of the chocolate, spreading it evenly.
Pour another layer of melted chocolate on top of the peanut butter, ensuring it completely covers the filling.
Place the muffin tin in the freezer for 30 minutes, or until fully set. Remove from the muffin tin and enjoy!
Extra Tips
- For an extra kick, consider adding a pinch of cinnamon to the peanut butter mixture or using flavored chocolate.
Nutritional Breakdown (Per Serving)
- Calories: 380 kcal
- Total Fat: 26g
- Saturated Fat: 15g
- Cholesterol: 195mg
- Sodium: 85mg
- Total Carbohydrates: 32g
- Dietary Fiber: 3g
- Sugars: 24g
- Protein: 6g